The QSign Mobile mobile application, which is available for Android and iOS operating systems, is used to sign documents in the mobile device environment or to authorize signing invoked in the QSign desktop application or in another supported application.
Login to the application
In case you are logged in the QSign Mobile application, enter your PIN or use your fingerprint to unlock it. Otherwise, follow the steps below to sign in first.
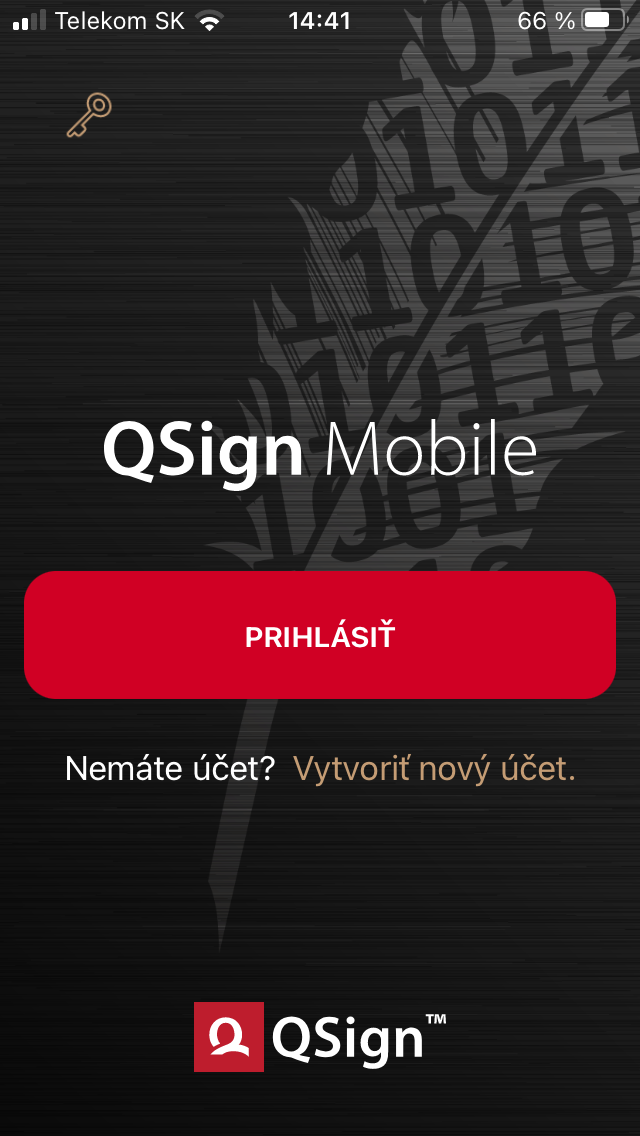
01
Open the QSign Mobile application on your mobile device.
Press "Login".
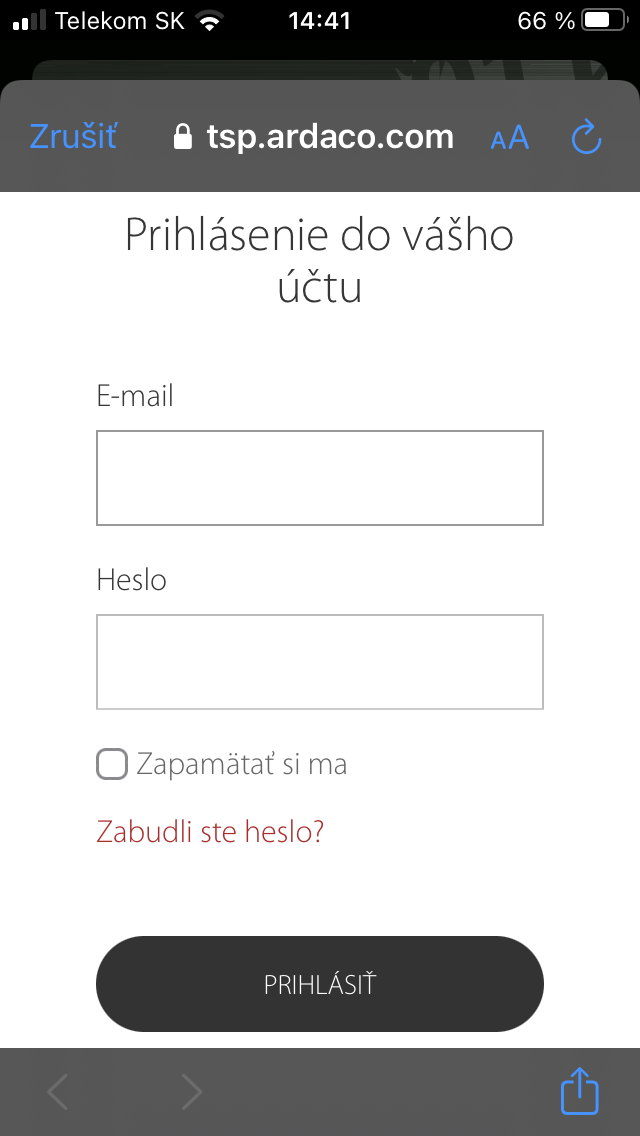
02
Enter your account E-mail and Password and press "Login".
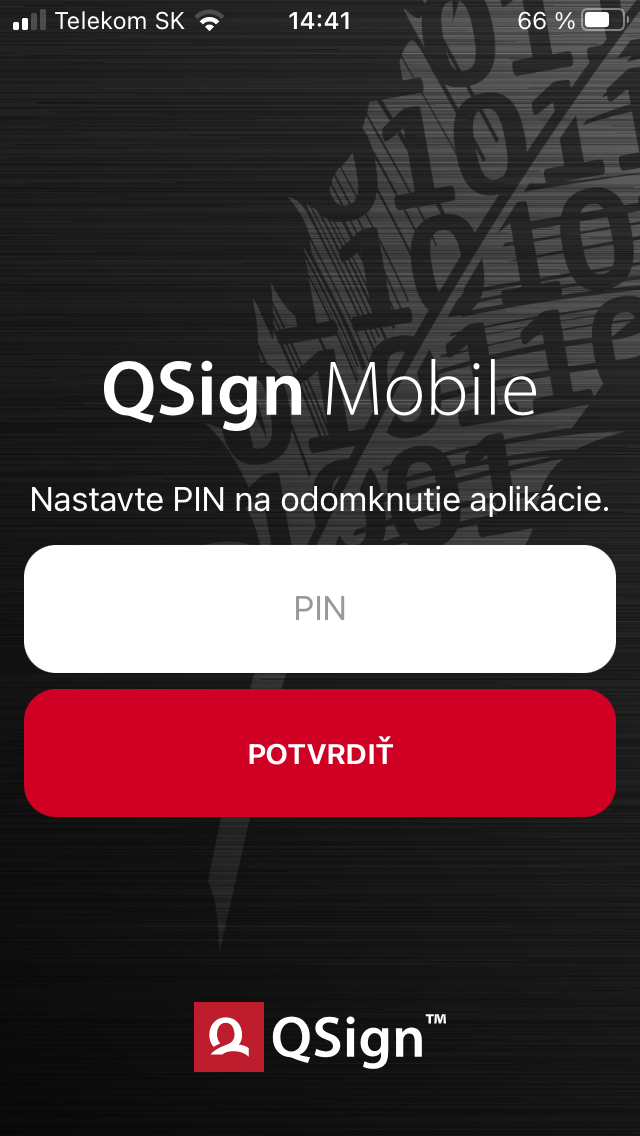
03
If you are launching QSign Mobile for the first time, set a PIN to unlock the application. You also need to reset your PIN if you haven't used the app in a long time and you've been automatically logged out for security reasons.
You can also use a fingerprint to unlock the application. You can turn this option on in the app settings.
Enter your PIN (at least 5 digits). Then enter this PIN again to verify.
04
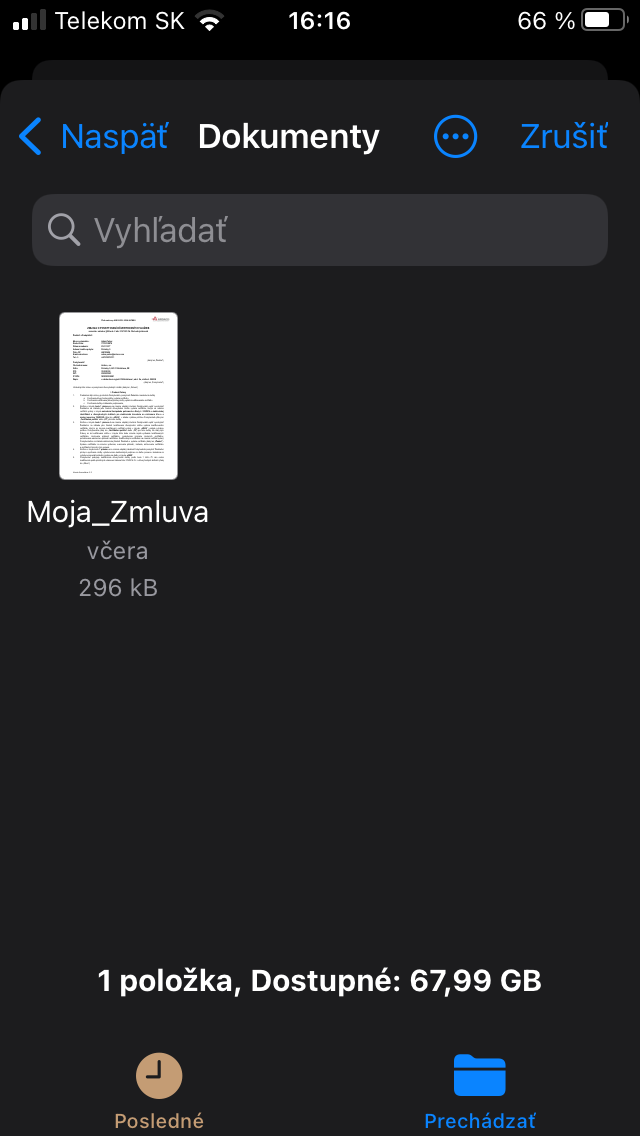
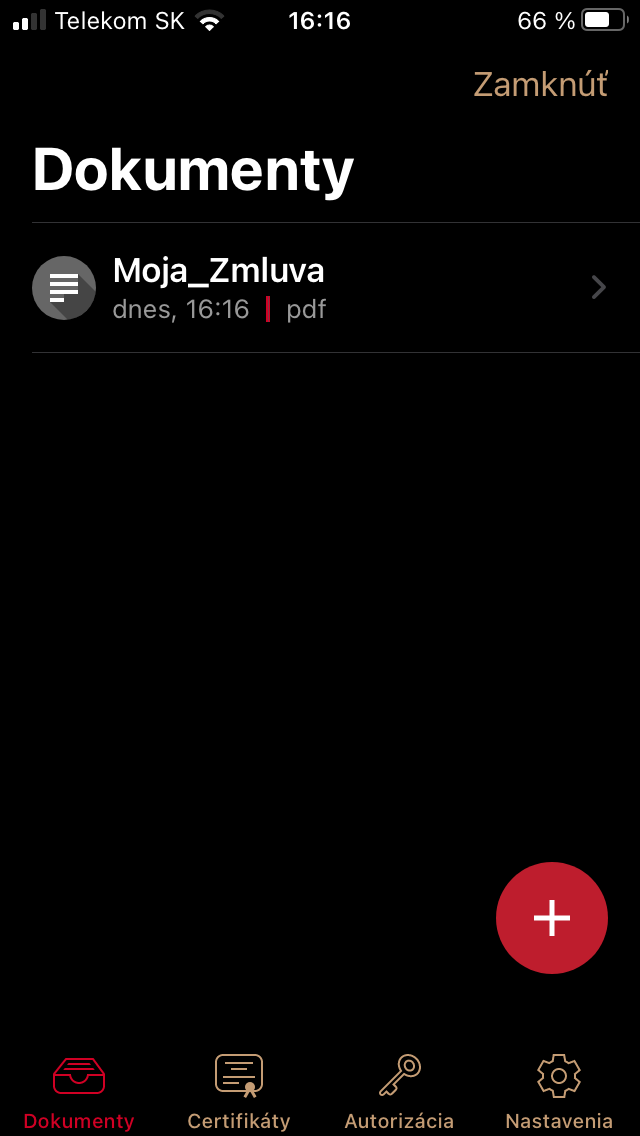
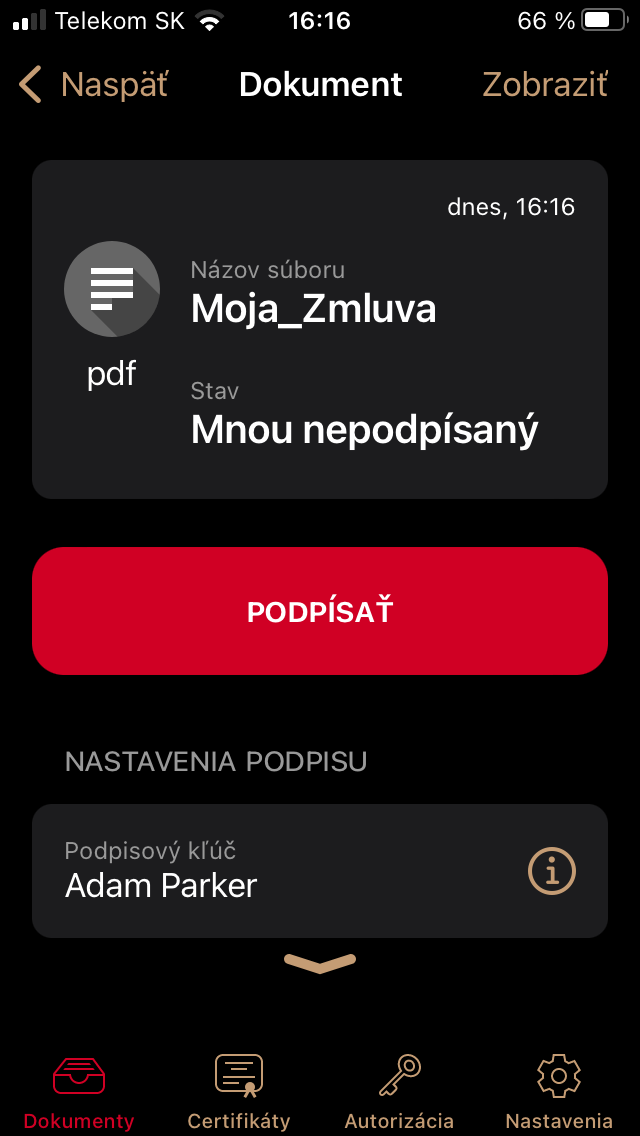
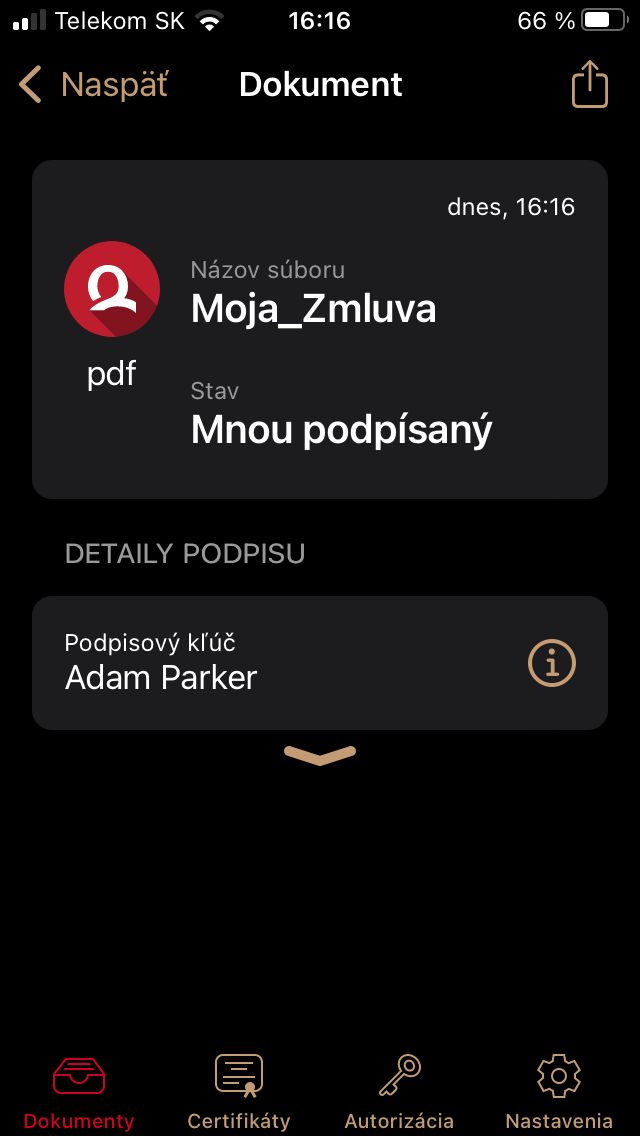
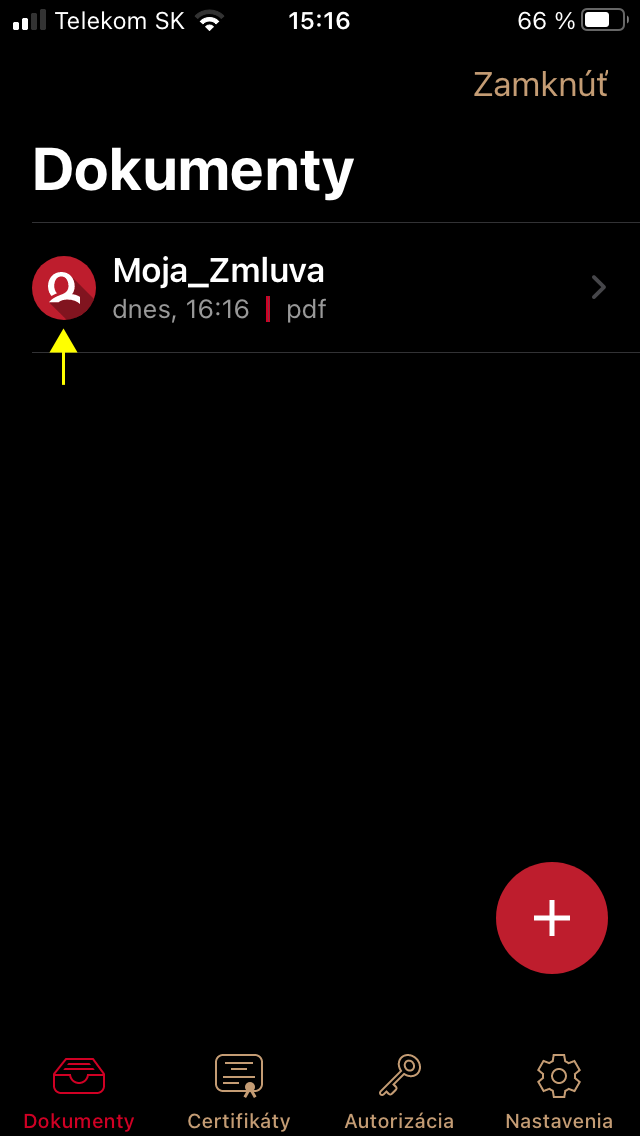
After logging in, you are on the tab "Documents".